How to Organize Your Kitchen in 7 Steps (Without Buying a Single Bin)
A practical, no-purchase-required system for organizing your kitchen: zone-by-zone sorting, work-triangle storage mapping, and the weekly reset that keeps it working.
I have reorganized my own kitchen three times in the last eight years. Once after a move, once after a renovation shrank my cabinet space by a third, and once because I got tired of playing Jenga with mixing bowls every time I wanted to make pancakes. Each round taught me the same lesson: you do not need more storage. You need a system that matches how you actually cook.

This guide walks through the exact seven steps I use, in order. None of them require buying anything. Do the steps on a free weekend morning — most kitchens take two to four hours start to finish.
Step 1: Empty one zone at a time, not the whole kitchen
The classic mistake is pulling everything out of every cabinet at once. Two hours later you are standing in a sea of muffin tins with no energy left to put anything back. Work one zone at a time instead: upper cabinets first, then lowers, then drawers, then the pantry. If you get interrupted, you have one messy counter instead of an unusable kitchen.
Step 2: Sort by how often you reach for it
As you empty each zone, sort items into three piles: things you use weekly, things you use a few times a year, and things you have not touched since last summer. Be honest with the third pile. The bread maker you used twice in 2024 is not a weekly item, no matter how good your intentions are.
Step 3: Map your zones around the work triangle
Professional kitchens group tools by task, and it works just as well at home. Store items where you use them:
- Prep zone — knives, cutting boards, mixing bowls and measuring cups within arm’s reach of your main counter space
- Cooking zone — pots, pans, spatulas, oils and spices next to the stove
- Cleaning zone — dish soap, towels and bin bags under or beside the sink
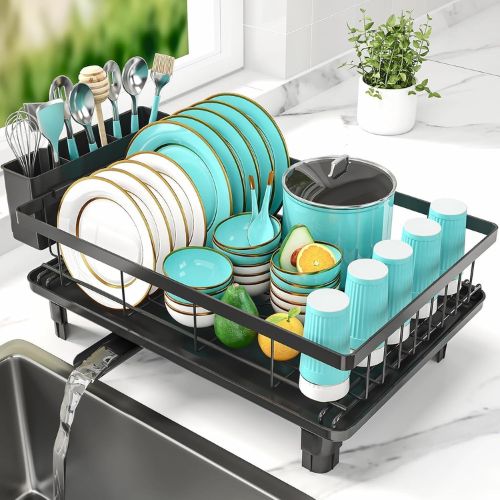
- Serving zone — plates, glasses and cutlery between the dishwasher and the table, so unloading takes half the time
When I moved my cutting boards from a cabinet across the kitchen to the drawer directly under my prep counter, it shaved a genuinely surprising amount of friction off every single meal. Small distances add up three times a day.
Step 4: Give prime real estate to daily-use items
The shelf between hip and eye level is the best storage in your kitchen. Reserve it for daily items: everyday plates, coffee mugs, the pan you use most. Holiday platters and the fondue set go up high. Heavy, rarely-used appliances go down low so nothing heavy is ever above your head.
Step 5: Decant only what earns its jar
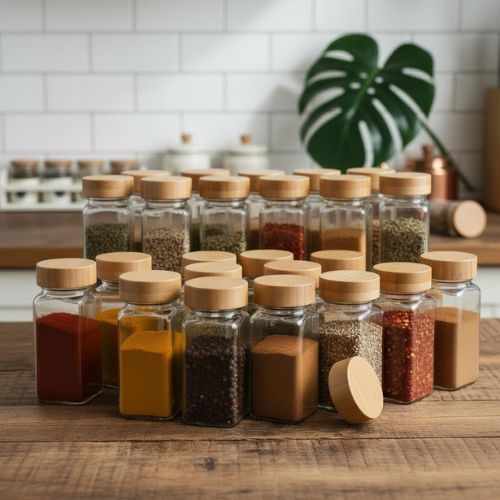
Pinterest kitchens with fifty matching jars look lovely, but decanting everything creates work you will not maintain. I decant five things: flour, sugar, rice, pasta and oats — staples I buy in bags that go stale in their packaging. Everything else stays in its original box with the cooking instructions and expiry date intact.
Step 6: Use doors, walls and vertical gaps
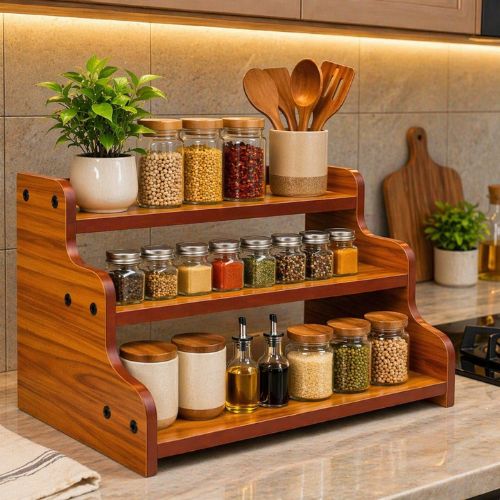
Before you conclude your kitchen is too small, look at the surfaces you are not using. The inside of a cabinet door holds measuring spoons on adhesive hooks. The gap between fridge and wall fits a rolling spice cart in most kitchens. A single rail on the backsplash keeps your five most-used utensils off the counter and out of the drawer scrum.
Step 7: Do a ten-minute reset every Sunday
No system survives contact with a busy week. Mine drifts too. What keeps it working is a ten-minute Sunday reset: return strays to their zones, wipe the shelves that need it, and note anything that keeps ending up in the wrong place. If the peanut butter keeps landing next to the stove instead of the pantry, that is not a discipline problem — the peanut butter is telling you where it wants to live. Move it.
The five-minute zone audit (do this before you start)
Before touching a single cabinet, stand in your kitchen and cook an imaginary meal. Walk it: fill a pot with water, carry it to the stove, get the pasta, find the colander, plate up. Every time you cross the kitchen or open more than one cabinet for one item, that is friction the reorganization should remove. I do this audit in every kitchen I help with, and it finds problems a checklist never does — like the colander living three steps from the sink it drains into, or the plates stored on the far side of the kitchen from the dishwasher that washes them.
Write down the three worst offenders. Those are your priorities. A reorganization that fixes your three biggest daily annoyances beats a photogenic overhaul that fixes none of them.
Where systems fall apart after a month — and the fixes
The flat surface problem
Clear counters attract clutter the way empty chairs attract laundry. The fix is not discipline, it is assignment: give every flat surface one defined job. My counter next to the kettle is the tea station. The stretch beside the stove is prep space, and nothing parks there. When a surface has a job, stray items look wrong on it — and wrong-looking items get moved.
The inbox shelf
Every kitchen accumulates incoming stuff: new groceries that do not have homes yet, jars someone gave you, the gadget you ordered at midnight. Give the inflow one shelf. When the shelf fills, everything on it gets a home or gets donated. Without an inbox, the inflow colonizes your counters; with one, the mess has a boundary.
The other people problem
If you share a kitchen, your beautiful system will be dismantled by people who did not build it. Two rules help. First, put things where the household already expects them — if everyone reaches left of the sink for a towel, that is where towels live, even if the right side is “more logical.” Second, label the non-obvious spots for the first month. It feels bossy; it works.
Renting? Organize without leaving a mark
Everything in this guide works in a rental. Adhesive hooks handle door-mounted storage without screws. Tension rods create dividers inside cabinets. Freestanding shelf risers need no installation at all. The one investment I suggest renters skip is anything custom-cut to a specific cabinet — you will move, and it will not fit the next kitchen.
Frequently asked questions
How long should organizing a kitchen take?
Two to four hours for most kitchens, done zone by zone. If yours is badly overstuffed, split it across two weekends — declutter the first, organize the second. Rushing both into one exhausted afternoon is how the last three cabinets end up shoved back as-is.
Should I buy organizers before or after?
After. Always after. Sort and purge first, live with the layout for a week, then buy the two or three organizers the remaining problems actually call for. Buying first means guessing at sizes and needs, and organizers that do not fit become clutter themselves.
What is the single highest-impact change?
Moving daily-use items to the hip-to-eye shelf nearest to where they are used. It is boring advice, and it does more for how your kitchen feels than anything you can buy.
What to do next
Once the system is in place, a handful of well-chosen tools can tighten it up further — a tiered shelf for spices, drawer dividers, a proper drying rack. I keep a running list of the ones that have survived years of daily use in my time-saving kitchen tools guide, and you will find all of our kitchen coverage on the kitchen guides page.
And if you are staring at a pile of gadgets you know you do not need, the next article to read is my guide on how to declutter your kitchen — it covers what to keep, what to donate and what genuinely belongs in the bin.
Sources & further reading
Useful independent references on this topic: